Now, just follow these simple (yet long) instructions to create your first digital layout!
- Open Photoshop.
- Click on File, then click New.
This will bring a pop up to your screen where you can customize the size of your layout.
- Type in the width and height of your layout being sure they are labeled in inches, not pixels.
My preference is 8 inches x 8 inches (cheaper to print out).
- Be sure the Resolution is set at 300 pixels/ inch and the color mode is RGB Color. The Background Contents is not important for this layout since the entire background will be covered. I usually set the background to white but you can also do translucent.
- Before you close this pop up you may name your layout.
- Close this pop up and your new background will appear in your work space.
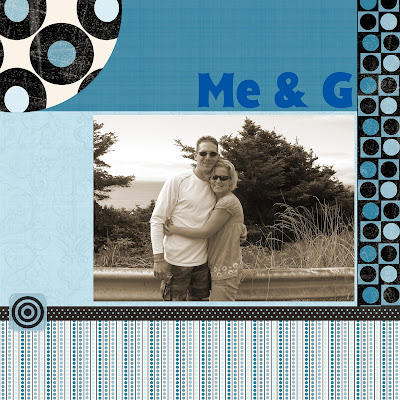
- Click on File, then Open and browse to find your Moody Blues page in the folder on your desktop. When you open this page it will appear in your work space on Photoshop.
- Click on File, then Open and browse to find your photo.
To make this easier for myself I created a folder on my desktop titled "Pix To Scrap." When I download pictures from my camera, I put the ones I really want to scrapbook in this folder for easy access.
When you open your picture it will appear in your work space on Photoshop.
Ok, stop and take a breath. It seems like a lot but once you have done those steps a few times, it will be a piece of cake! Trust me:)
Looking at your screen, your bin (on the bottom of Photoshop) should have a background, the Moody Blues page and your picture.
- Double click on the Moody Blues page in the bin and it will appear in your work space.
- Click your cursor on the paper in the work space and drag it down onto the background holding the left button to drag. ( I will say "Click and Drag" from now on.)
- Re size the paper to fit the background.
To do this be sure the move tool is highlighted in your tool box on the left side of the screen. Also, be sure the layer which your paper occupies is highlighted in your layer list on the right side of the screen. You want the paper to cover the entire background. Click and drag the corners in to make it smaller.
- Once it is covered and re sized, click on the green check mark to commit this placement.
- Double click on the photo in your bin and it will pop up in your work space.
- Click and Drag the picture down to your layout in the bin.
At this point if your picture is hidden behind the paper layer, go to the layers and Click and Drag the photo layer to the top.
- You can make adjustments to your photo by clicking the move tool and making sure the photo layer is darkened in your layer list. You can make the photo bigger, smaller, or you can move it around the page.
- Once the picture is exactly where you want it and the size you want it, click the green check mark to commit it. (Don't worry, nothing in Photoshop is permanent. You can go move or re size it later if you change your mind.)
WOW, told you it was a long list of instructions, but wasn't it pretty easy? Check back tomorrow to see how I added the words on the layout.


 The three digital layouts above were created using Shabby Princess kit Express Yourself. Click here to see the kit beautifully created by Rhonna Penner for Shabby Pincess.
 These two layouts above were done using Shabby Princess kit called Promise. Click here to find this totally cute digital kit!


 Quick pages are so easy! All you do is download them to a folder you created on your desk top, open them in Photoshop and add your pictures. Seriously it's that easy. And just look what you can do! All these Quick Pages were found online, created by Michelle Underwood, and generously distributed as freebies on various sites.
 And, it's so easy! Watch for my next Lesson of the Day to learn how!


